UNIT/5

Assembly guide

Two people, one drill, about five hours. Every part has a letter printed on it; the list for each step tells you which ones you need.

Rev P1 · Preliminary · PDF

Before you start

1

Prepare the base and check your parts

Step 1

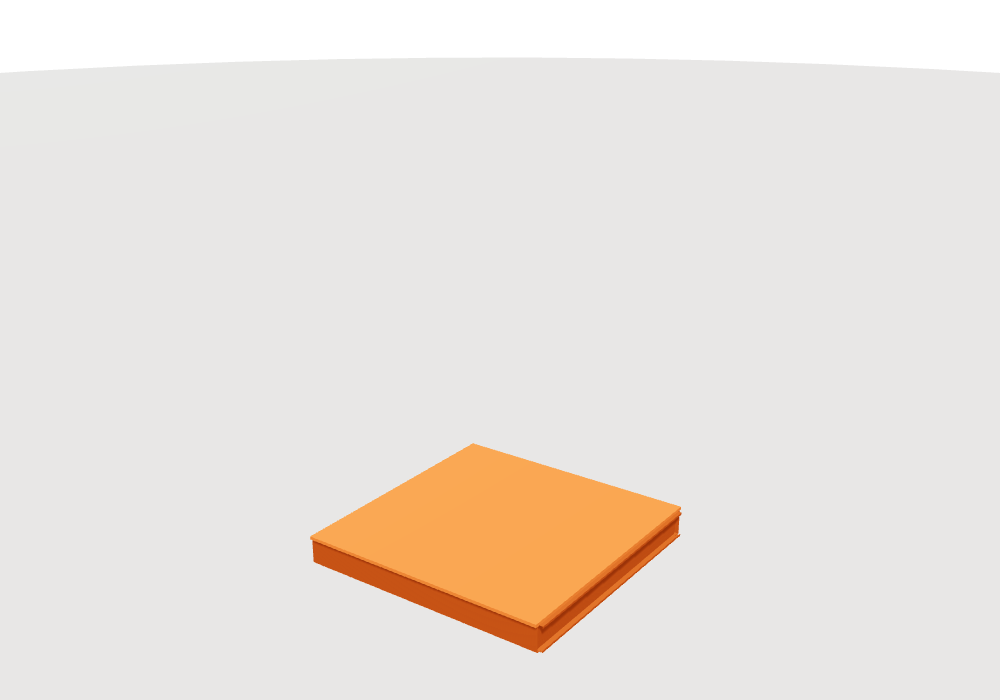
Pick a level spot with 3 ft of clearance on every side. UNIT/5 sits on a 4" concrete pad, on pavers set on compacted gravel, or on the optional steel floor kit. Open the crate, lay the parts out by their letter, and check them against the parts list. You need: a drill/driver, the two nut-setter bits in the hardware box, a 4 ft level, a tape measure, a step ladder, gloves and safety glasses. Two people.

2

Build the back wall frame

Step 2

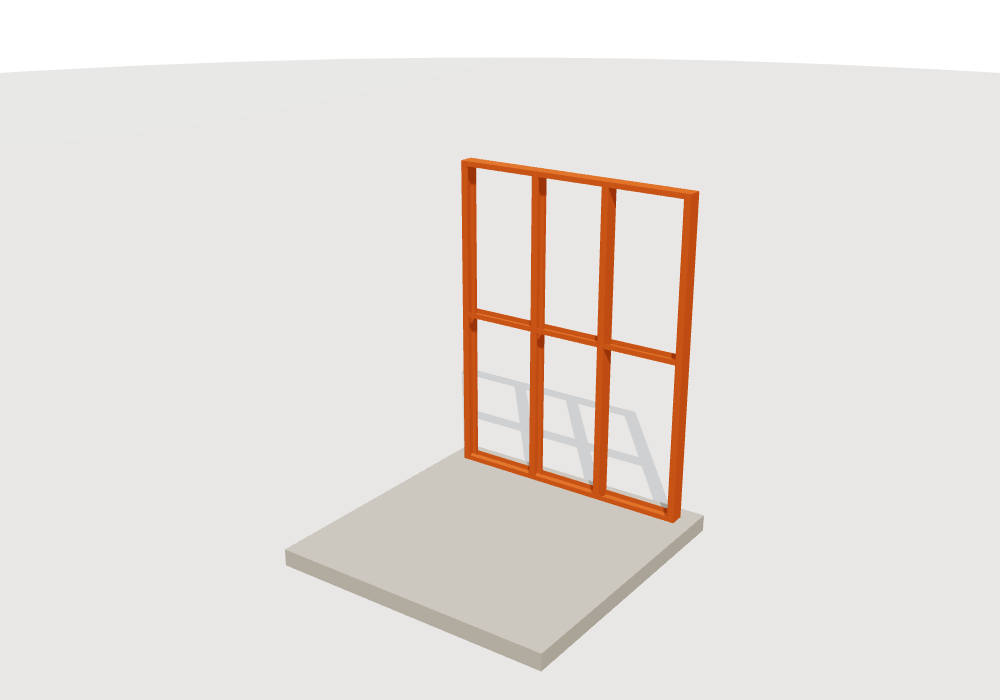
On flat ground, lay the two 60" tracks flanges-up, 77" apart. Drop the four 77" studs into the tracks (the two end studs face in, the two middle studs at 20" from each end). Fasten every stud to both tracks with two #10 framing screws per side. Snap the three girt blocks in at mid-height and screw their tabs to the studs.

Parts: F ×4 H ×2 O ×2 P ×1 F2 ×32

3

Build the two side wall frames

Step 3

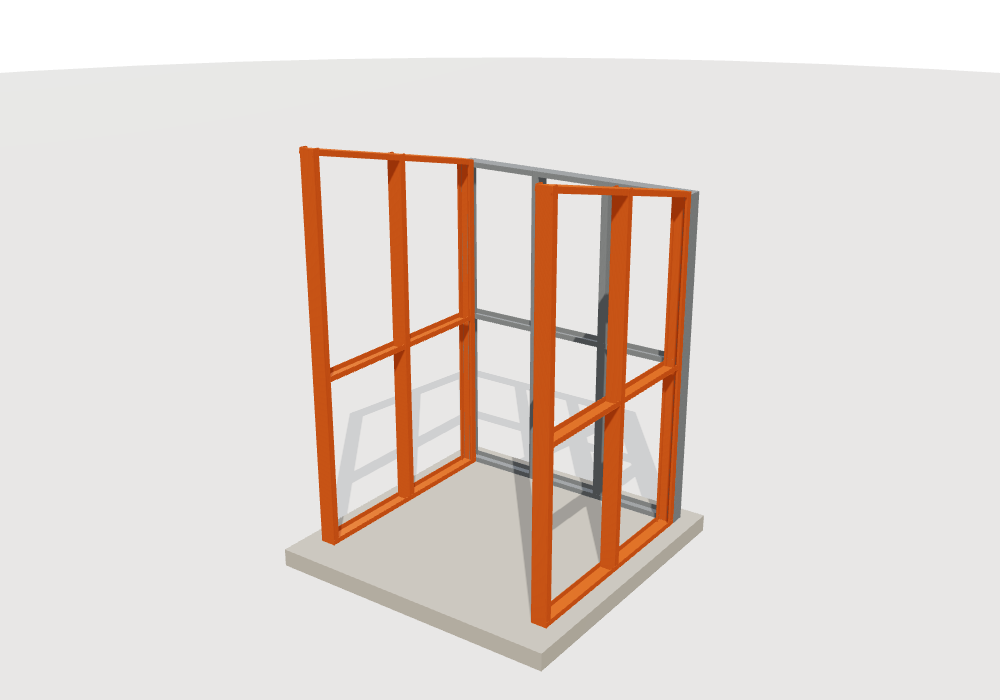
Each side has a level bottom track, a sloped top track (the end marked HI goes to the front) and three angle-cut studs: tall at the front, middle in the centre, short at the back. Screw studs to tracks, then add the two girt blocks. Build both sides; they are mirror images.

Parts: E ×2 D ×2 C ×2 J ×2 I ×2 N ×2 M ×2 F2 ×40

4

Stand the walls and join the corners

Step 4

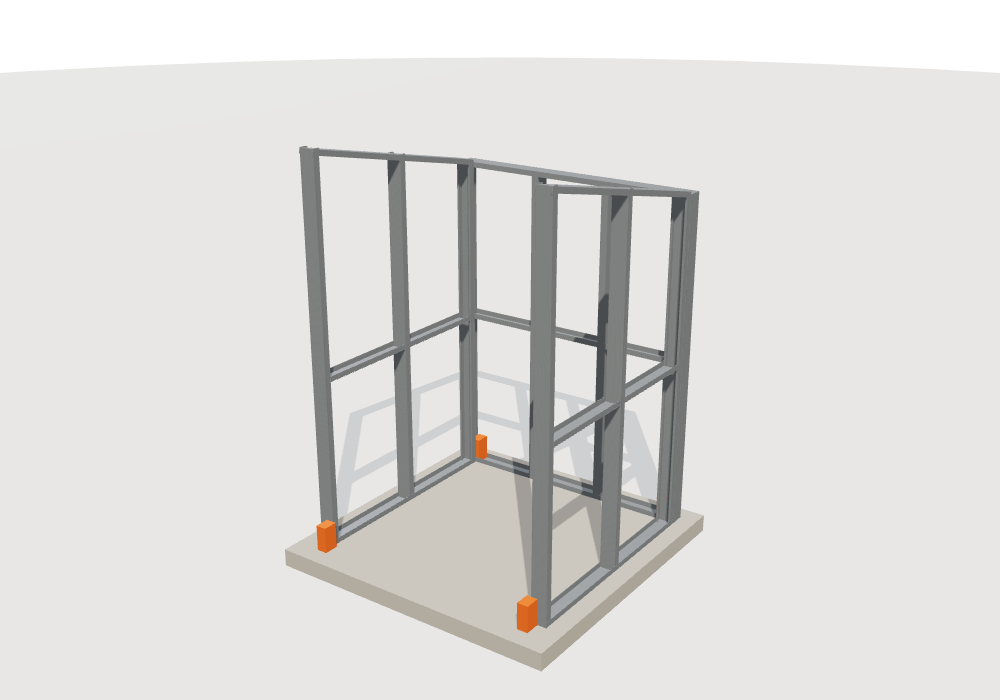
Stand the back wall on the pad, then a side wall against it. Clamp the corner flush and drive four #10 screws through the side end stud into the back corner stud. Add the other side. Measure the two diagonals across the bottom - they should match within 1/8" (84 7/8" each). Anchor the bottom tracks: two anchors per wall, plus a hold-down bracket at each corner.

Parts: AH ×4 F2 ×16, F4 ×6, F5 ×4, hold-downs AG

5

Build and stand the front wall

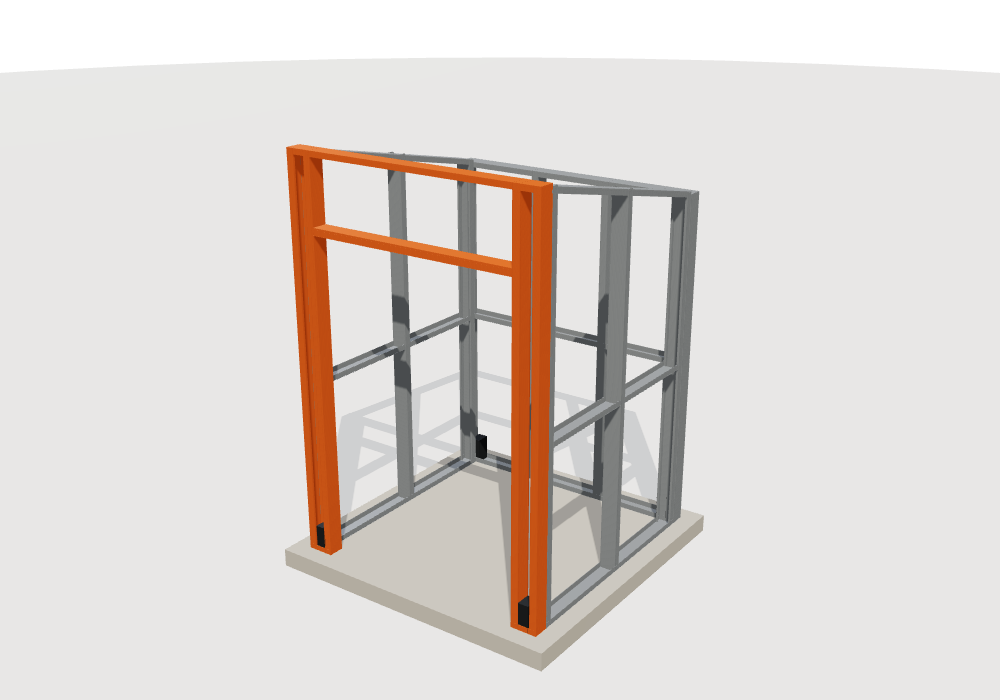
Step 5

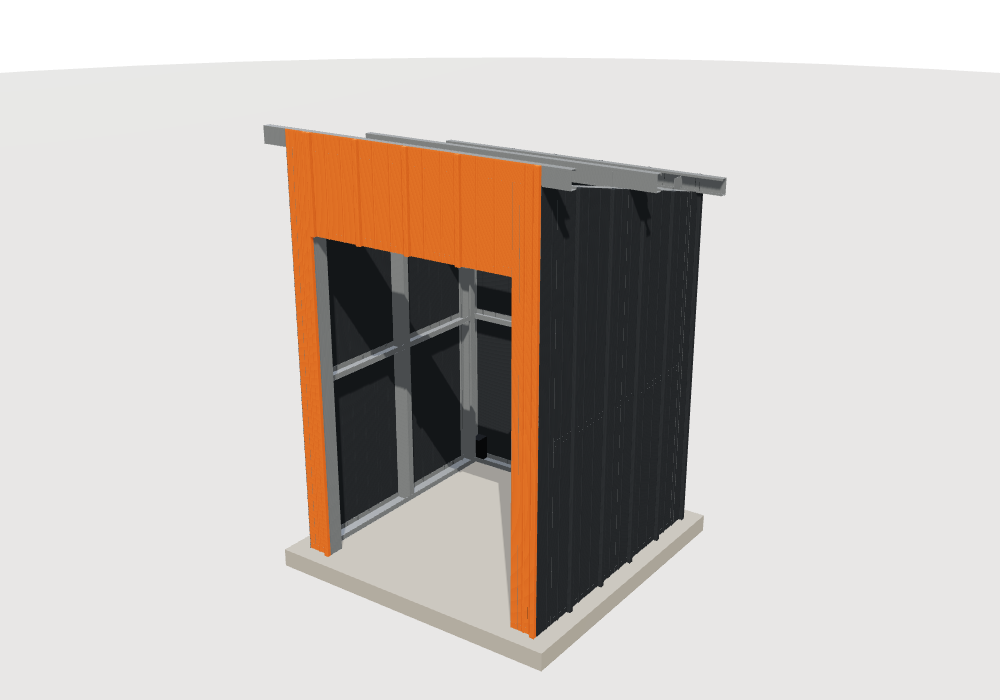
Lay out the front frame: two 89" corner studs, the two boxed door jambs (stud plus track, screwed together every 12"), the boxed header at 72", and the 60" top track. Stand it between the side walls and join both front corners with four screws each. Anchor the two short bottom tracks. The opening must measure 48" wide by 72" tall.

Parts: A ×4 B ×2 Q ×2 H ×1 K ×1 L ×1 F2 ×40, F4 ×2

6

Set the roof purlins

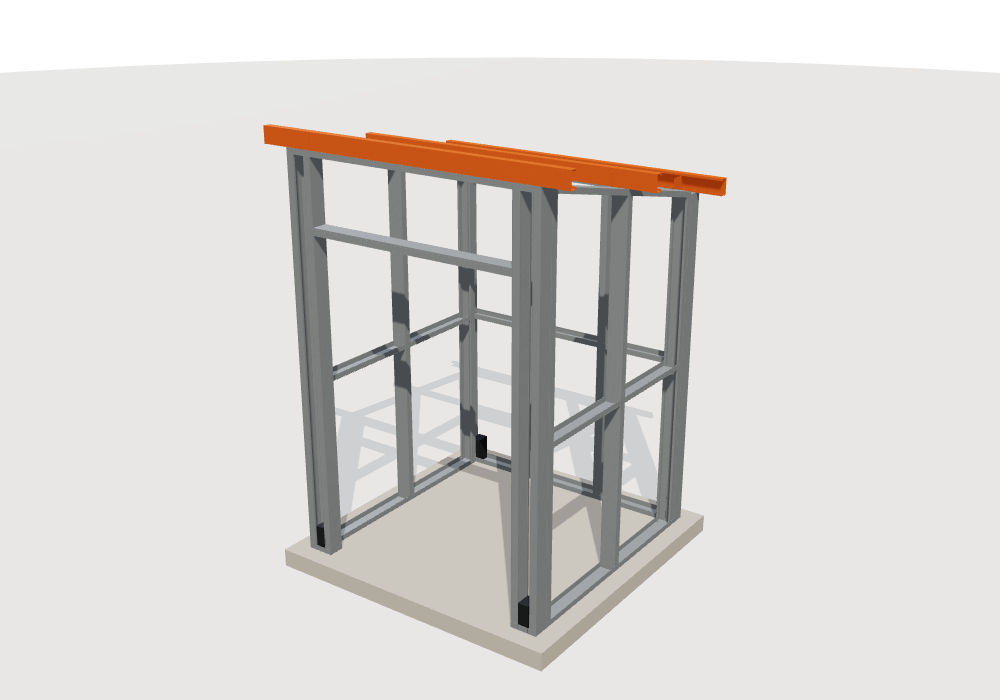
Step 6

Set the three 72" purlins: the front one on the front wall, the middle one across the side walls at their centre stud, the back one on the back wall. Each overhangs 6" past both side walls. Fasten each end with a purlin clip (four screws). Re-check both diagonals before going on - the panels lock the frame square.

Parts: G ×3 AI ×6 F2 ×24, clips AH

7

Panel the back wall

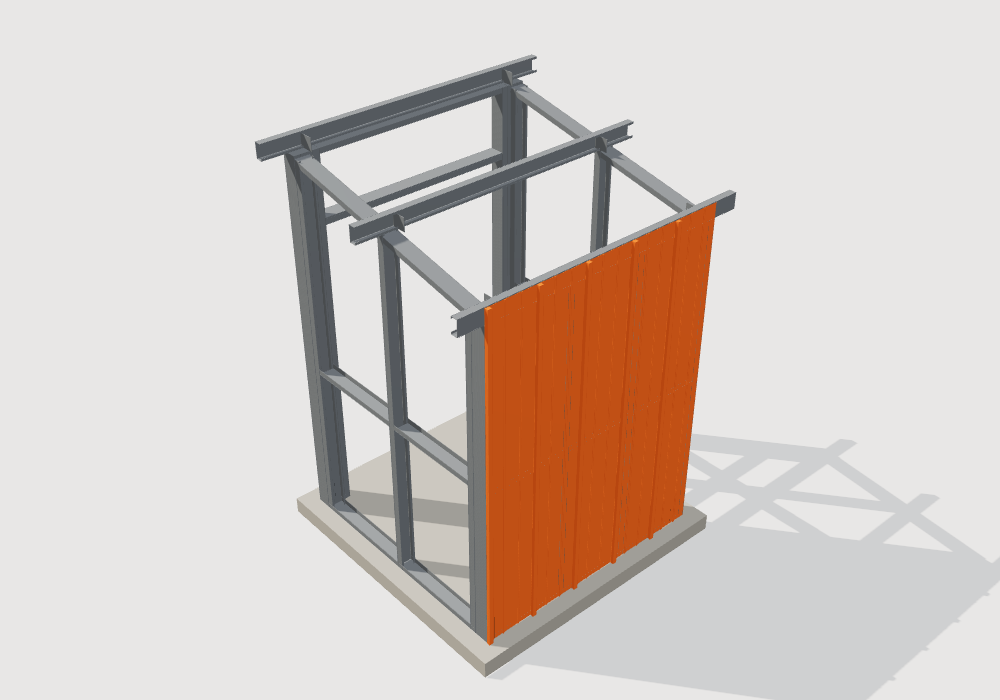
Step 7

Start at the back left corner. Stand the first 81" panel with its tall rib at the corner, bottom 1/2" below the track, and screw it at the bottom track, the girt and the purlin (two screws per row, in the flat beside each rib). Lap each next panel over the last rib. Five panels cover the back.

Parts: W ×5 F1 ×30

8

Panel the side walls

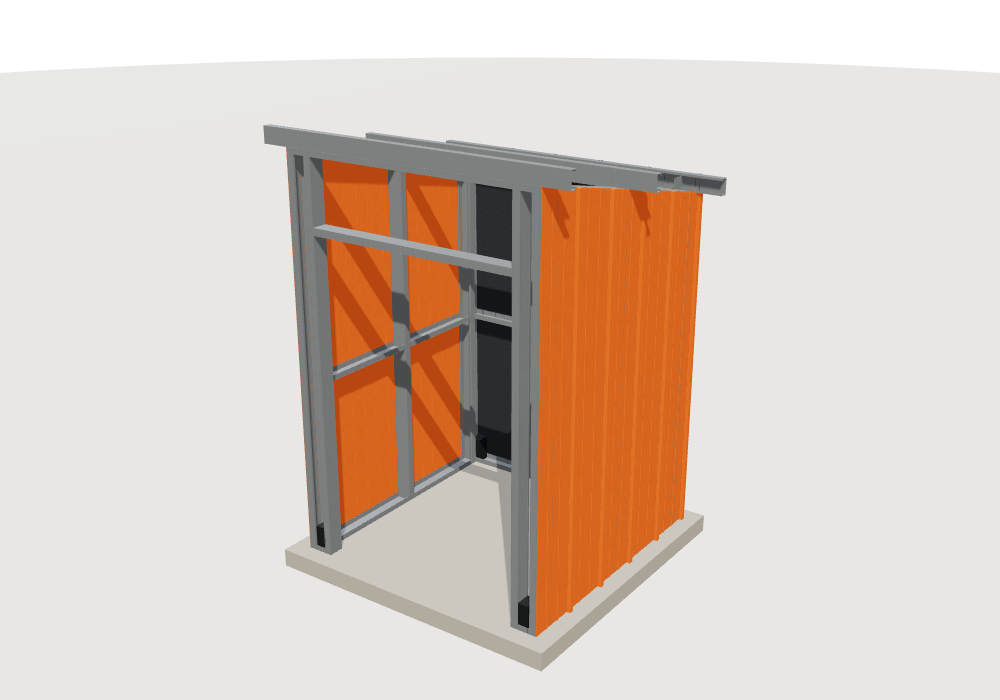
Step 8

The side panels are cut on a slope at the top and numbered 1 to 5 from back to front. Start at the back corner with panel 1 and work toward the front. Screw at the bottom track, the girt and the sloped top track.

Parts: X ×2 V ×2 U ×2 T ×2 S ×2 F1 ×60

9

Panel the front

Step 9

Fit the two 6" jamb strips beside the opening, then the four short header panels above it. Screw the header panels into the header and the front purlin.

Parts: R ×2 Z ×4 F1 ×24

10

Roof

Step 10

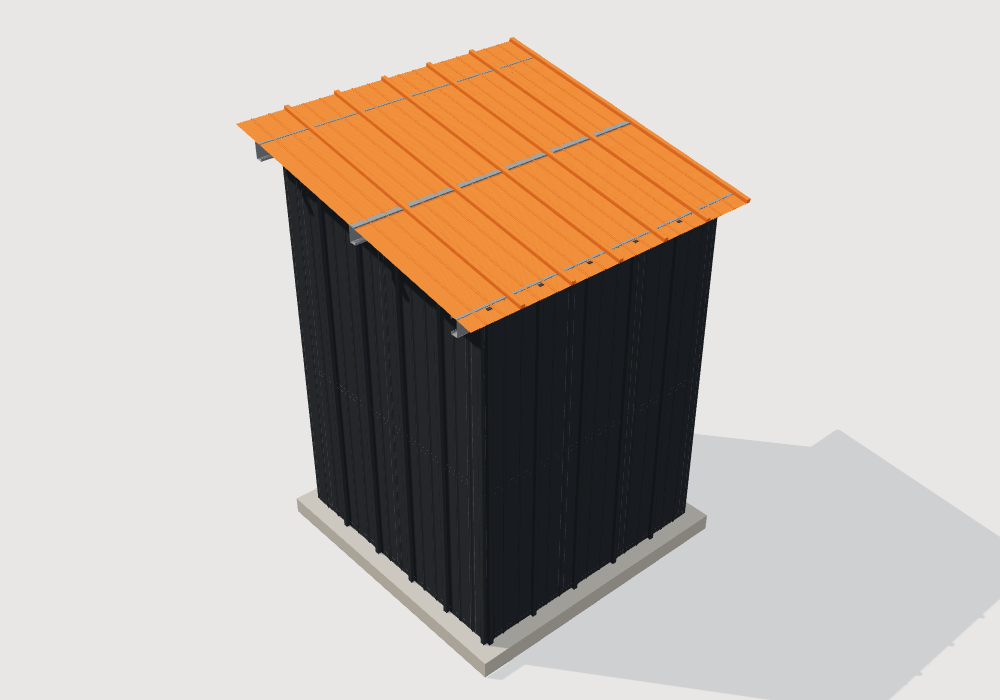
Lay foam closure strips on the front and back purlins. Put butyl tape along each side lap. Starting at the left, set six 71 1/2" roof panels, 6" past the front and 3" past the back. Screw through the flat at every purlin, three screws per panel per purlin. Stitch each side lap every 12".

Parts: Y ×6 F1 ×54, F3 ×30, C1, C2

11

Trim and vents

Step 11

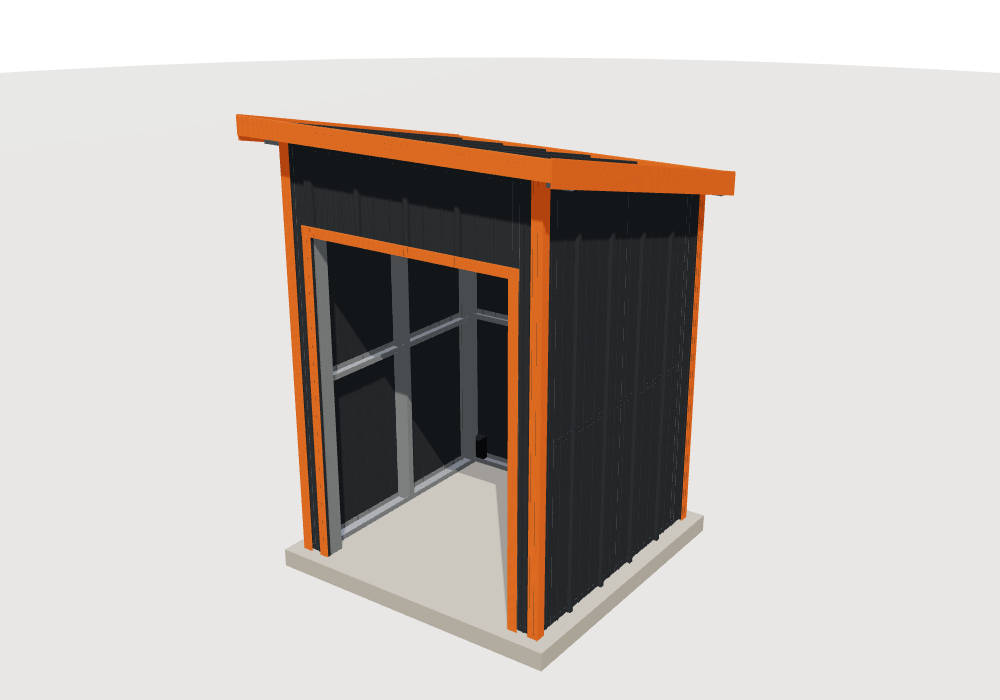
Fit the vented closure screens in the gap above each side wall. Then add the rake fascia on both sides, the drip trim front and back, the four corner trims and the door trim. Stitch-screw trim every 12". The look comes from straight trim lines: snap a chalk line before you screw.

Parts: AF ×2 AE ×2 AC ×2 AB ×2 AA ×2 AD ×2 AG ×1 F3 ×80, C3

12

Hang the roll-up door

Step 12

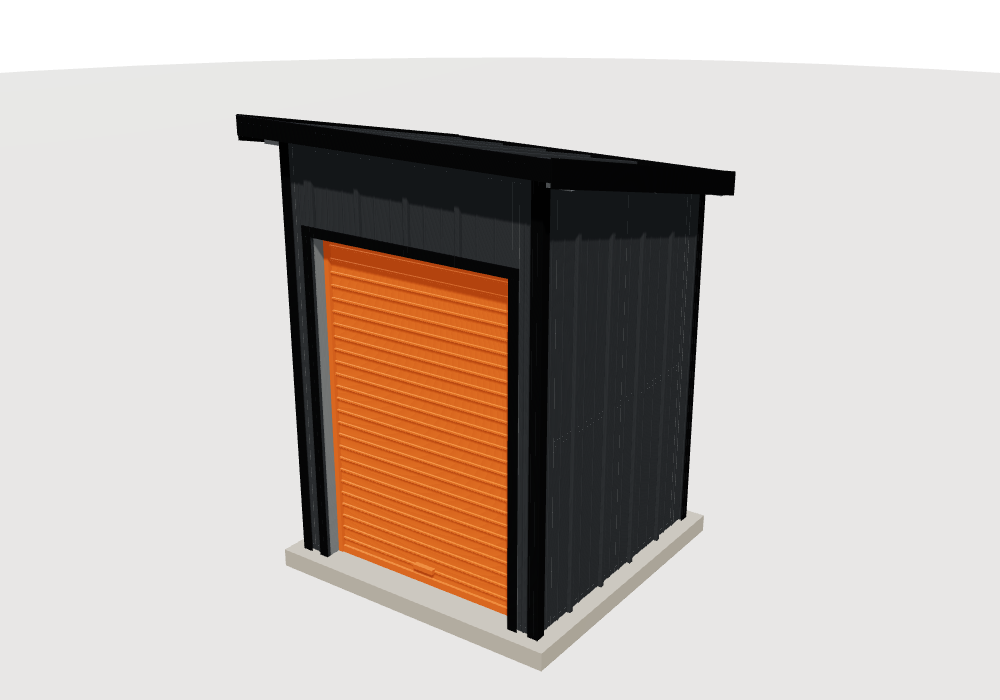
Bolt the door brackets to the jambs inside, 87 1/2" to the top of the bracket. Lift the coiled door onto the brackets (two people), screw the guides to the jambs, tension the spring per the door instructions and fit the stops. Run it up and down. Fit the lock hasp.

Parts: AJ ×1 door hardware (in door box), K3

13

Add-ons

Step 13

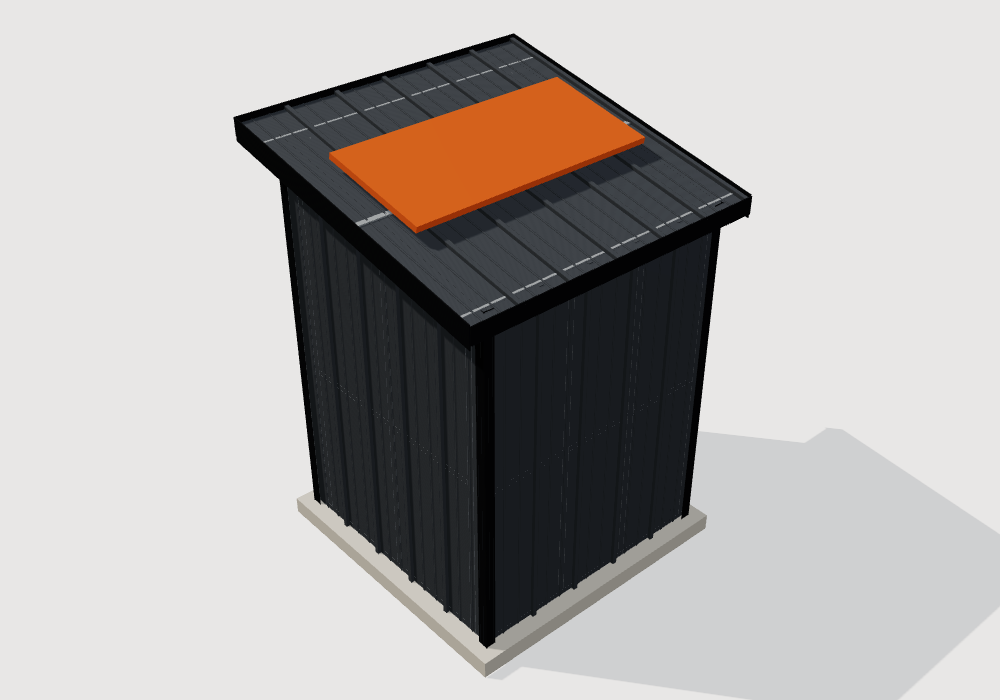
Mount the solar rails across the purlins and bolt the panel on, then run the cable through the roof gland to the power station. Fit the LED light under the middle purlin and the shelving against the back and side walls. Done.

Parts list

LetterPartQty
AStud, 362S162-54 x 89"4
BTrack, 362T125-54 x 89"2
CStud, 362S162-54 x 88 7/16" (12° cut)2
DStud, 362S162-54 x 83" (12° cut)2
EStud, 362S162-54 x 77 9/16" (12° cut)2
FStud, 362S162-54 x 77"4
GPurlin, 362S162-54 x 72"3
HTrack, 362T125-54 x 60"3
ITrack, 362T125-54 x 53 7/8" (12° cut)2
JTrack, 362T125-54 x 52 3/4"2
KTrack, 362T125-54 x 48"1
LStud, 362S162-54 x 48"1
MGirt block, 362T125-54 x 24 3/4", tabbed ends2
NGirt block, 362T125-54 x 23 1/8", tabbed ends2
OGirt block, 362T125-54 x 18 3/8", tabbed ends2
PGirt block, 362T125-54 x 16 3/4", tabbed ends1
QTrack, 362T125-54 x 6"2
RJamb strip (ripped) x 93 1/8", 6" cover, 26 ga, painted2
SSide panel #5 (1 left + 1 right, handed), 87 3/16" to 89 11/16", top cut on slope, 12" cover, 26 ga, painted2
TSide panel #4 (1 left + 1 right, handed), 84 3/4" to 87 3/16", top cut on slope, 12" cover, 26 ga, painted2
USide panel #3 (1 left + 1 right, handed), 82 1/4" to 84 3/4", top cut on slope, 12" cover, 26 ga, painted2
VSide panel #2 (1 left + 1 right, handed), 79 13/16" to 82 1/4", top cut on slope, 12" cover, 26 ga, painted2
WWall panel x 80 15/16", 12" cover, 26 ga, painted5
XSide panel #1 (1 left + 1 right, handed), 77 5/16" to 79 13/16", top cut on slope, 12" cover, 26 ga, painted2
YRoof panel x 71 7/16", 12" cover, 26 ga, painted6
ZWall panel x 20 5/8", 12" cover, 26 ga, painted4
AACorner trim 2.5x2.5", 26 ga x 94 1/8"2
ABCorner trim 2.5x2.5", 26 ga x 81 15/16"2
ACEave drip trim, 26 ga x 73 3/8"2
ADDoor jamb trim, 26 ga x 73"2
AERake fascia trim, 26 ga, 6" face x 72 7/16"2
AFVented closure screen, side gap2
AGDoor head trim, 26 ga x 53 3/8"1
AHCorner hold-down, 12 ga, 1/2" anchor hole4
AIPurlin clip, 16 ga angle 3x3x3.5"6
AJRoll-up door 4'x6', 26 ga curtain, torsion spring, slide latch1
F1Panel screw #12-14 x 1" self-drilling, hex washer head, bonded EPDM washer, painted to match240
F2Framing screw #10-16 x 3/4" self-drilling, hex washer head, zinc220
F3Stitch screw #14 x 7/8" lap tek, painted to trim120
F4Wedge anchor 3/8" x 3", zinc (pad installs: 2 per wall)8
F5Wedge anchor 1/2" x 4" (corner hold-downs)4
C1Foam outside closure for 7/8" rib profile, 36" sticks4
C2Butyl tape 1/8" x 1", 45 ft roll1
C3Polyether sealant 10 oz, color-matched1
K1Nut-setter bits 5/16" (2) + 1/4" (1), magnetic1
K2Assembly guide (printed), parts map, QR to video1
K3Lock hasp for disc lock, 11 ga, zinc1

Care

Rinse the panels once a year. Touch up scratches with the matching paint pen. Keep the door guides clean and spray them with silicone each spring. Check the anchor nuts after the first big storm.